Objectives
By the end of this lesson you should be able to:- List the features, pros, and cons of using Remix as an IDE
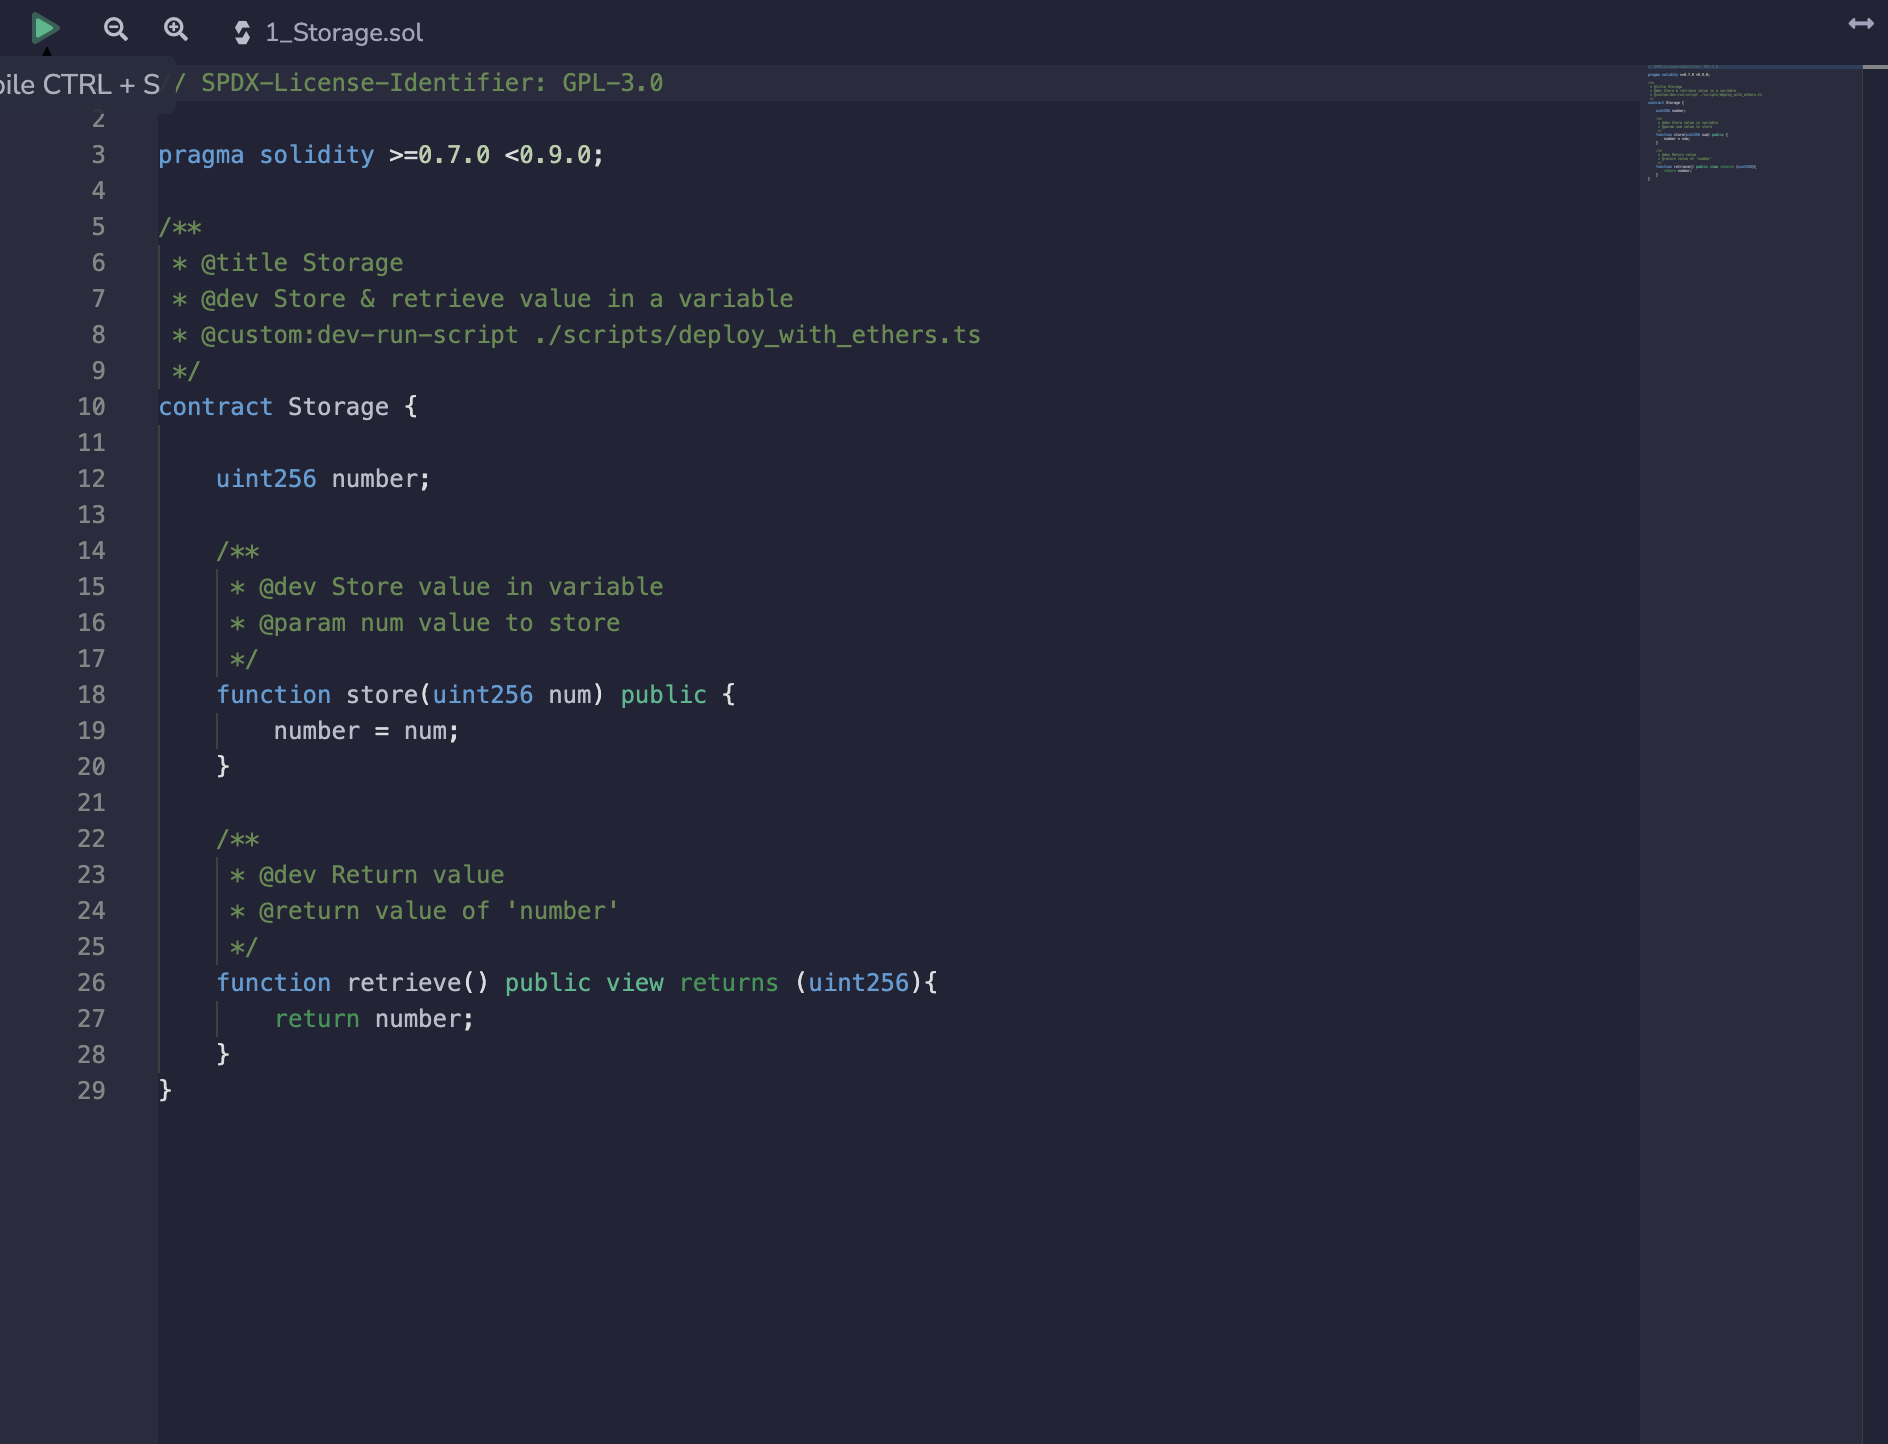
- Deploy and test the Storage.sol demo contract in Remix
Remix Window Overview
Begin by opening a browser window and navigating to remix.ethereum.org. Open the project you created and cleaned up at the end of the last reading, and open1_Storage.sol. The editor should be organized in a way that is familiar to you. It is divided into three areas:
- Editor Pane
- Terminal/Output
- Left Panel
Editor Pane
The editor pane loads with the Remix home screen, which contains news, helpful links, and warnings about common scams. Double-click on1_Storage.sol to open it in the editor. You can close the home tab if you’d like.
Terminal/Output
Below the editor pane, you’ll find the terminal:
Left Panel
As with many other editors, the left panel in Remix has a number of vertical tabs that allow you to switch between different tools and functions. You can explore the files in your current workspace, create and switch between workspaces, search your code, and access a number of plugins.Plugins
Most of the features in Remix are plugins and the ones you’ll use the most are active by default. You can view and manage plugins by clicking the plug button in the lower-left corner, right above the settings gear. You can turn them off and on by clicking activate/deactivate, and some, such as the Debug plugin will be automatically activated through other parts of the editor.Solidity Compiler
The first default plugin (after the search function) is the Solidity Compiler. Be sure to check theAuto compile option. Smart contracts are almost always very small files, so this shouldn’t ever cause a performance problem while editing code.
The Compile and Run script button in this plugin is a little misleading. This is not how you will usually run your contract through testing. You can click the I button for more information on this feature.
Finally, if you have errors in your contracts, the complete text for each error will appear at the bottom of the pane. Try it out by introducing some typos to 1_Storage.sol.
Deploy & Run Transactions
The Deploy & Run Transactions plugin is what you’ll use to deploy your contracts and then interact with them. At the top are controls to select which virtual machine to use, mock user wallets with test Ether, and a drop-down menu to select the contract you wish to deploy and test. Fix any errors you introduced to1_Storage.sol and then click the orange Deploy button. You’ll see your contract appear below as STORAGE AT <address>.
There are two common gotchas that can be very confusing when deploying contracts in Remix.
- Each time you hit the Deploy button, a new copy of your contract is deployed but the previous deployments remain. Unless you are comparing or debugging between different versions of a contract, or deploying multiple contracts at once, you should click the
Trashbutton to erase old deployments before deploying again. - If your code will not compile, clicking the deploy button will not generate an error! Instead, the last compiled version will be deployed. Visually check and confirm that there are no errors indicated by a number in a red circle on top of the Compiler plugin.